
Clevr Energy Display · Victron edition
Set up your Victron display with Home Assistant
Start with the GX MQTT feed, let the Clevr integration discover the site, then download the firmware for the correct screen. Keep a backup and verify each stage before continuing.
On this page
Check your hardware.
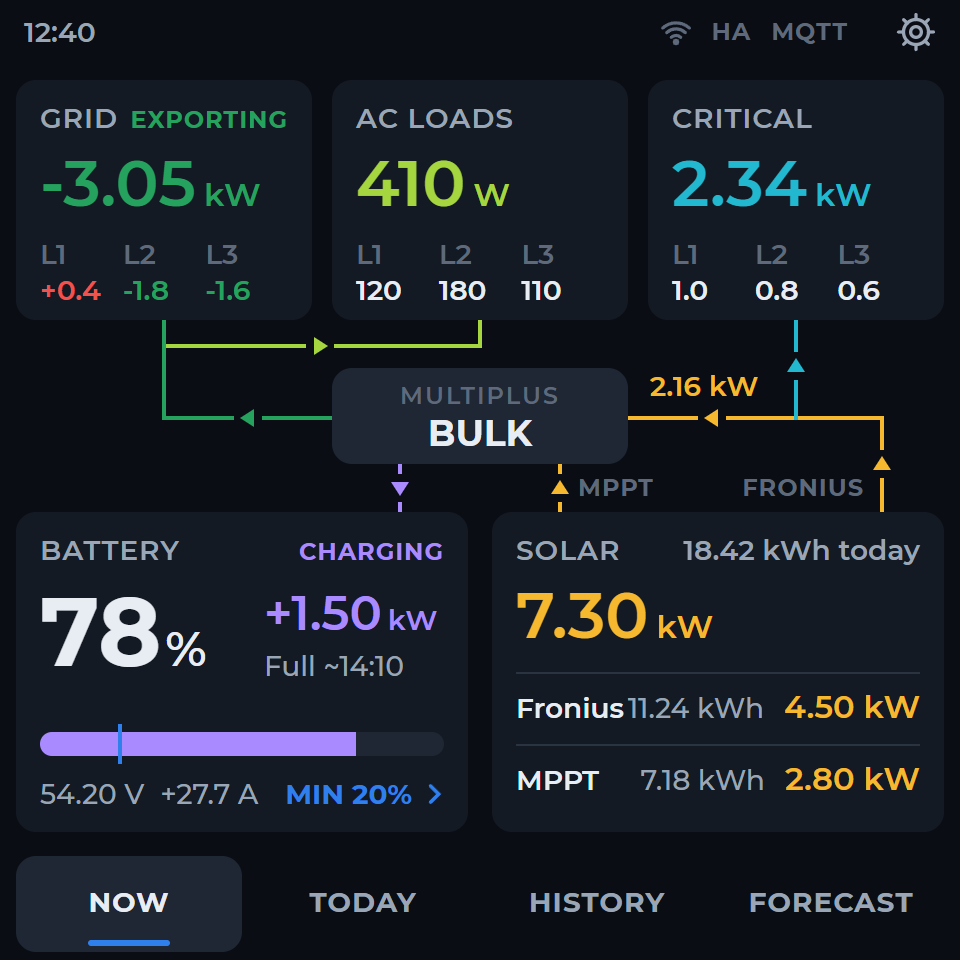
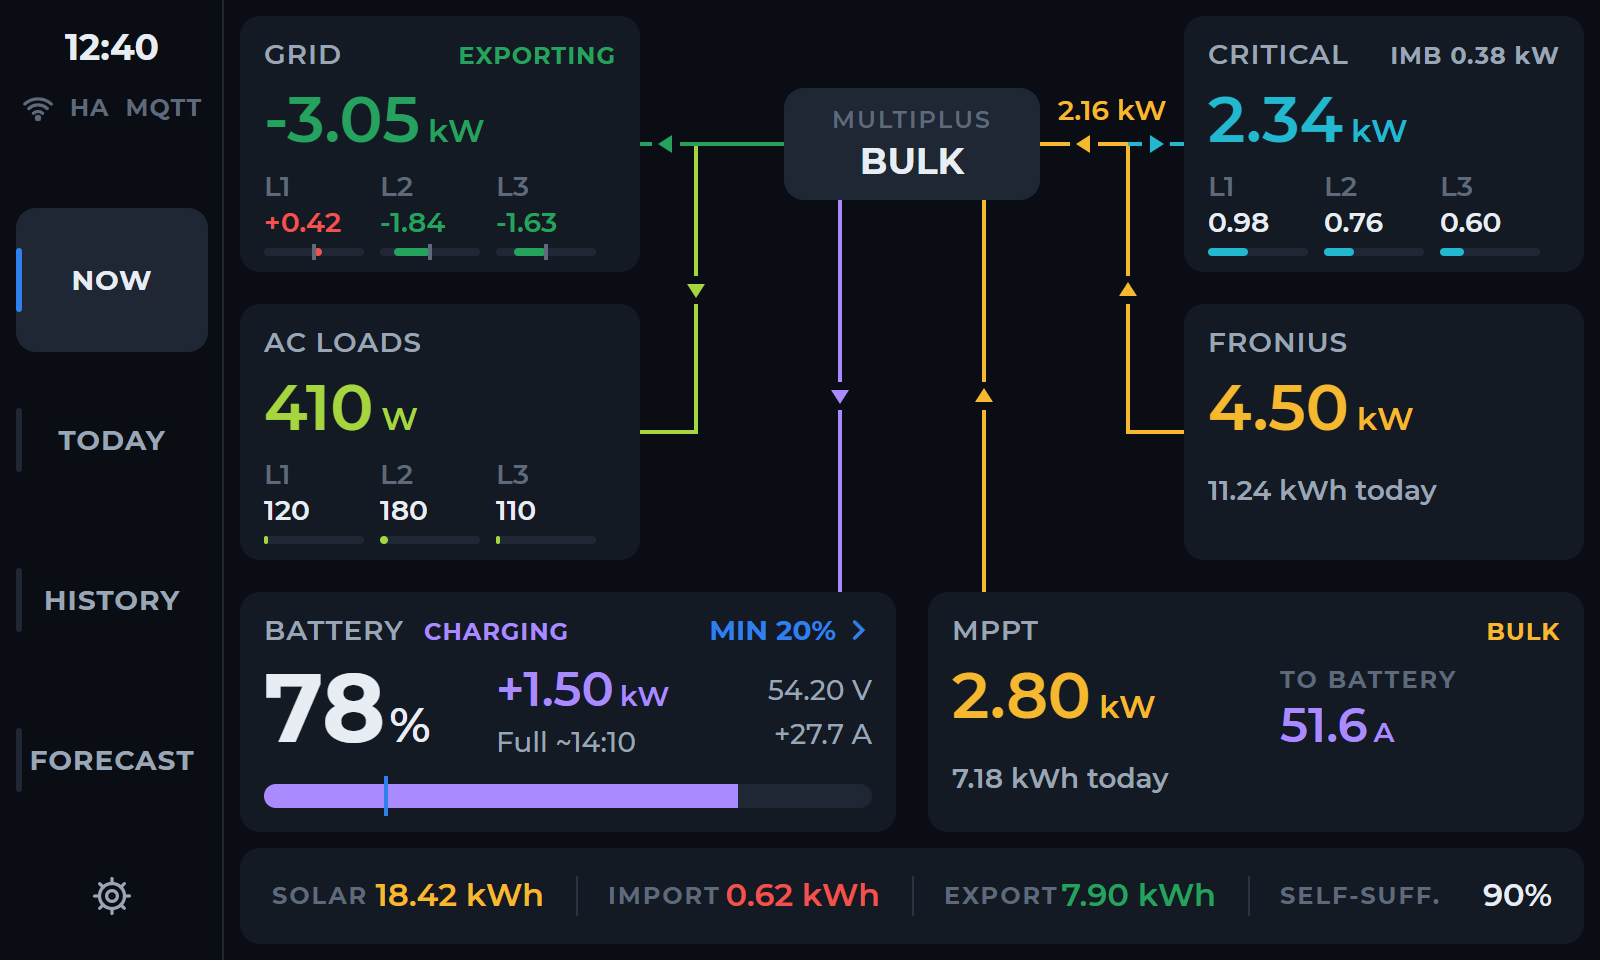
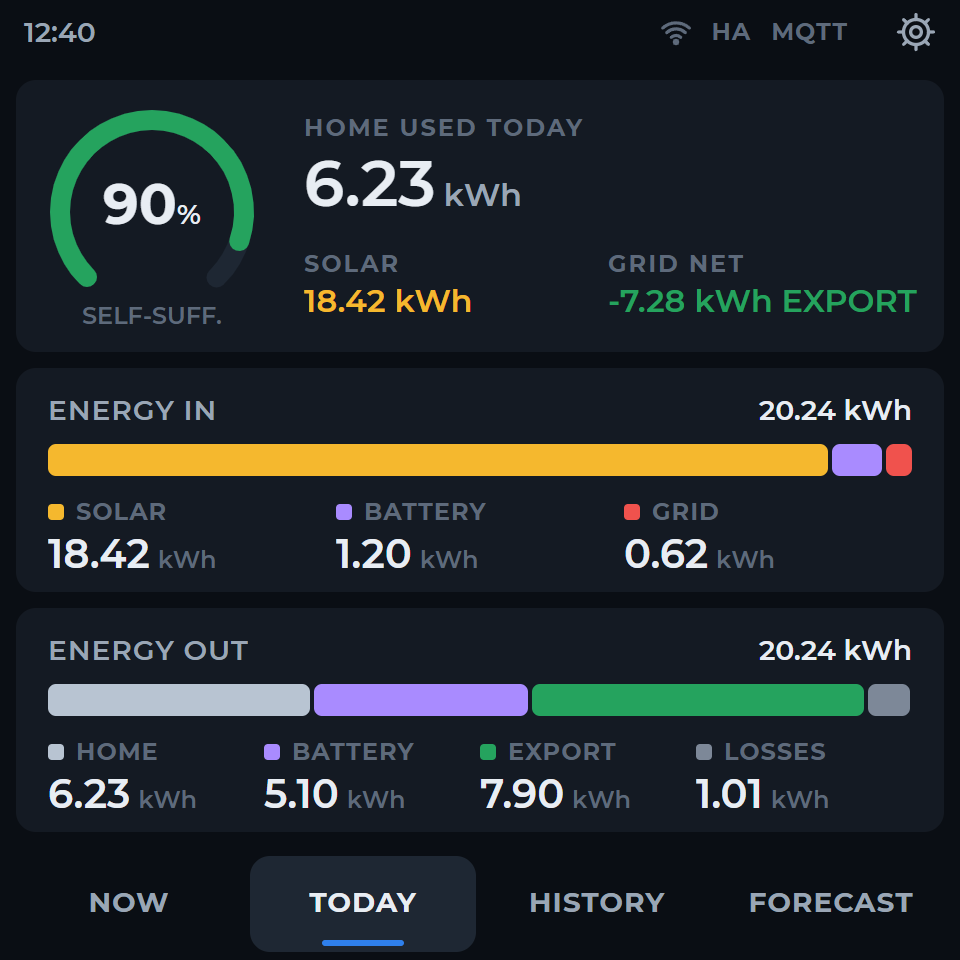
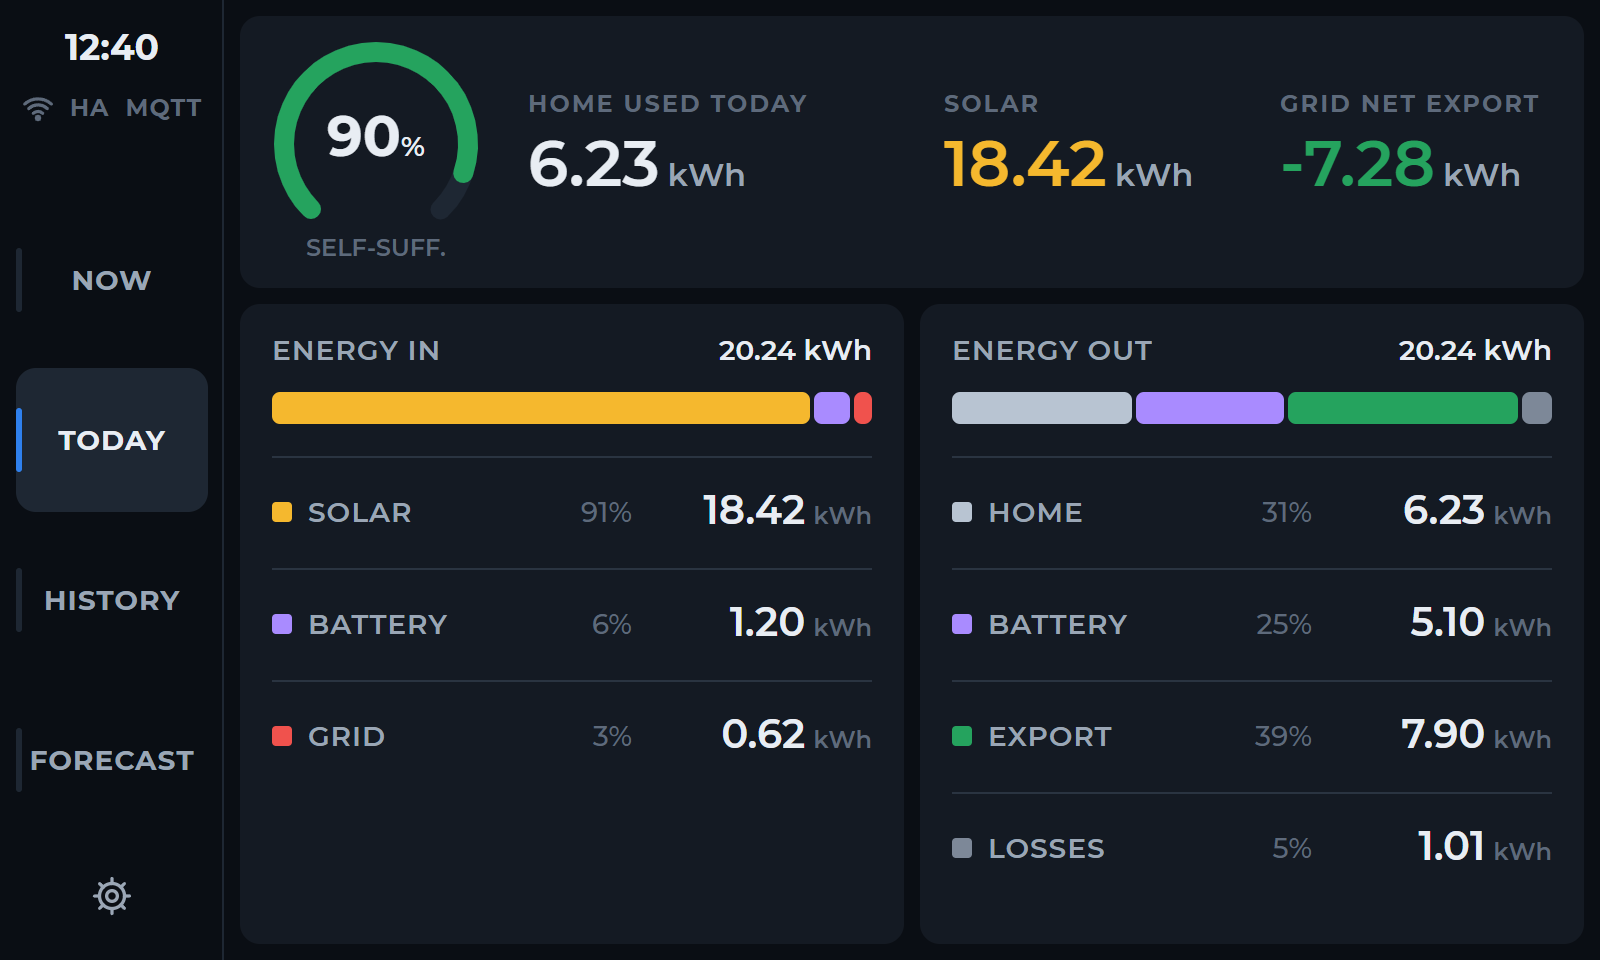
Confirm whether your panel is the 4-inch 480 × 480 board or the 5-inch Guition JC8048W550. Back up Home Assistant before installing an integration.
Prepare the GX MQTT feed.
Follow the MQTT guide. Confirm that GX notifications reach your broker and that exactly one full-republish sender is running.
Install the Clevr Victron integration.
Install the purchased integration using its supplied instructions and add it under Home Assistant Settings → Devices & services.
Let the integration discover your sensors.
The integration detects the available sensors automatically. Check its live readings against your GX. No diagnostics upload or website configuration is needed.
Choose your panel size.
Open your display.solar or Clevr House account after purchasing the chosen integration. Choose the matching 4-inch or 5-inch firmware. Downloads remain pending until the binaries are uploaded. Open your account →
Download and flash the firmware.
Download the reusable firmware binary for the exact panel and connection mode. Follow the instructions supplied with that release to flash it; no customer-specific compilation is required.
Connect the panel locally.
Complete the connection setup on your panel using the release instructions. Enter connection credentials locally. Your global display.solar license is managed separately in your account.
Verify live readings and history.
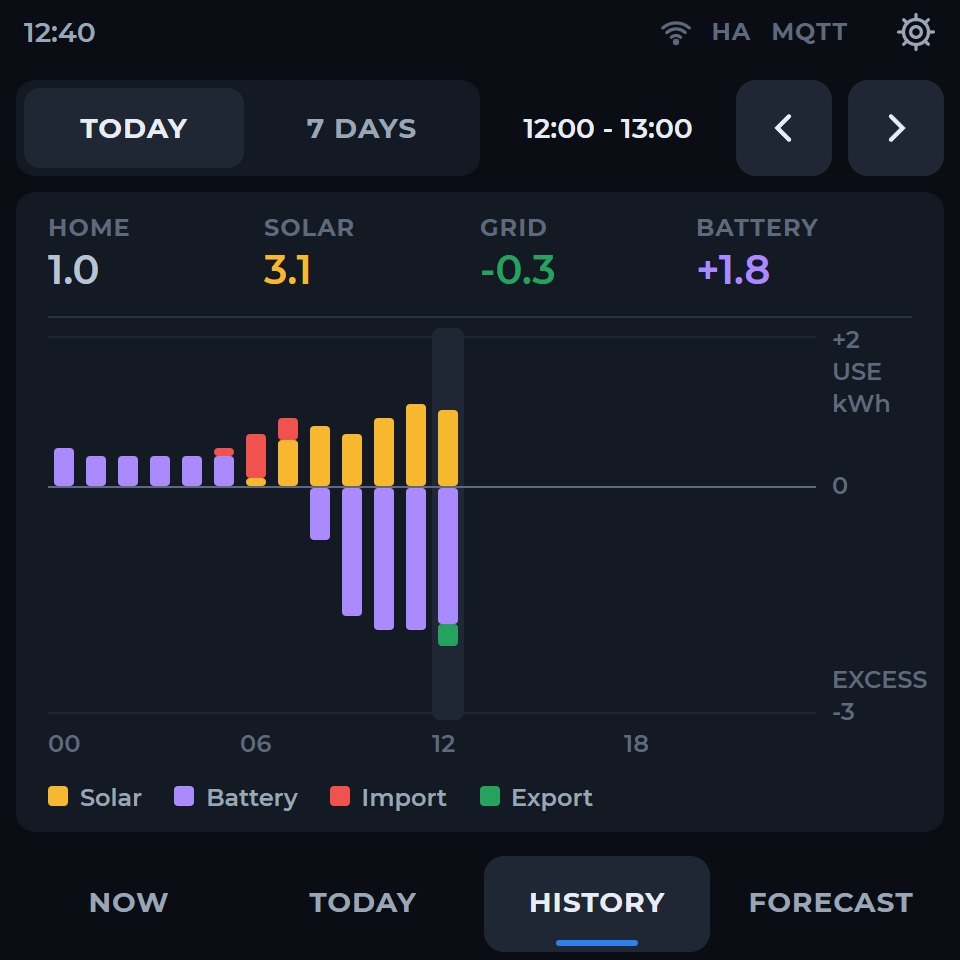
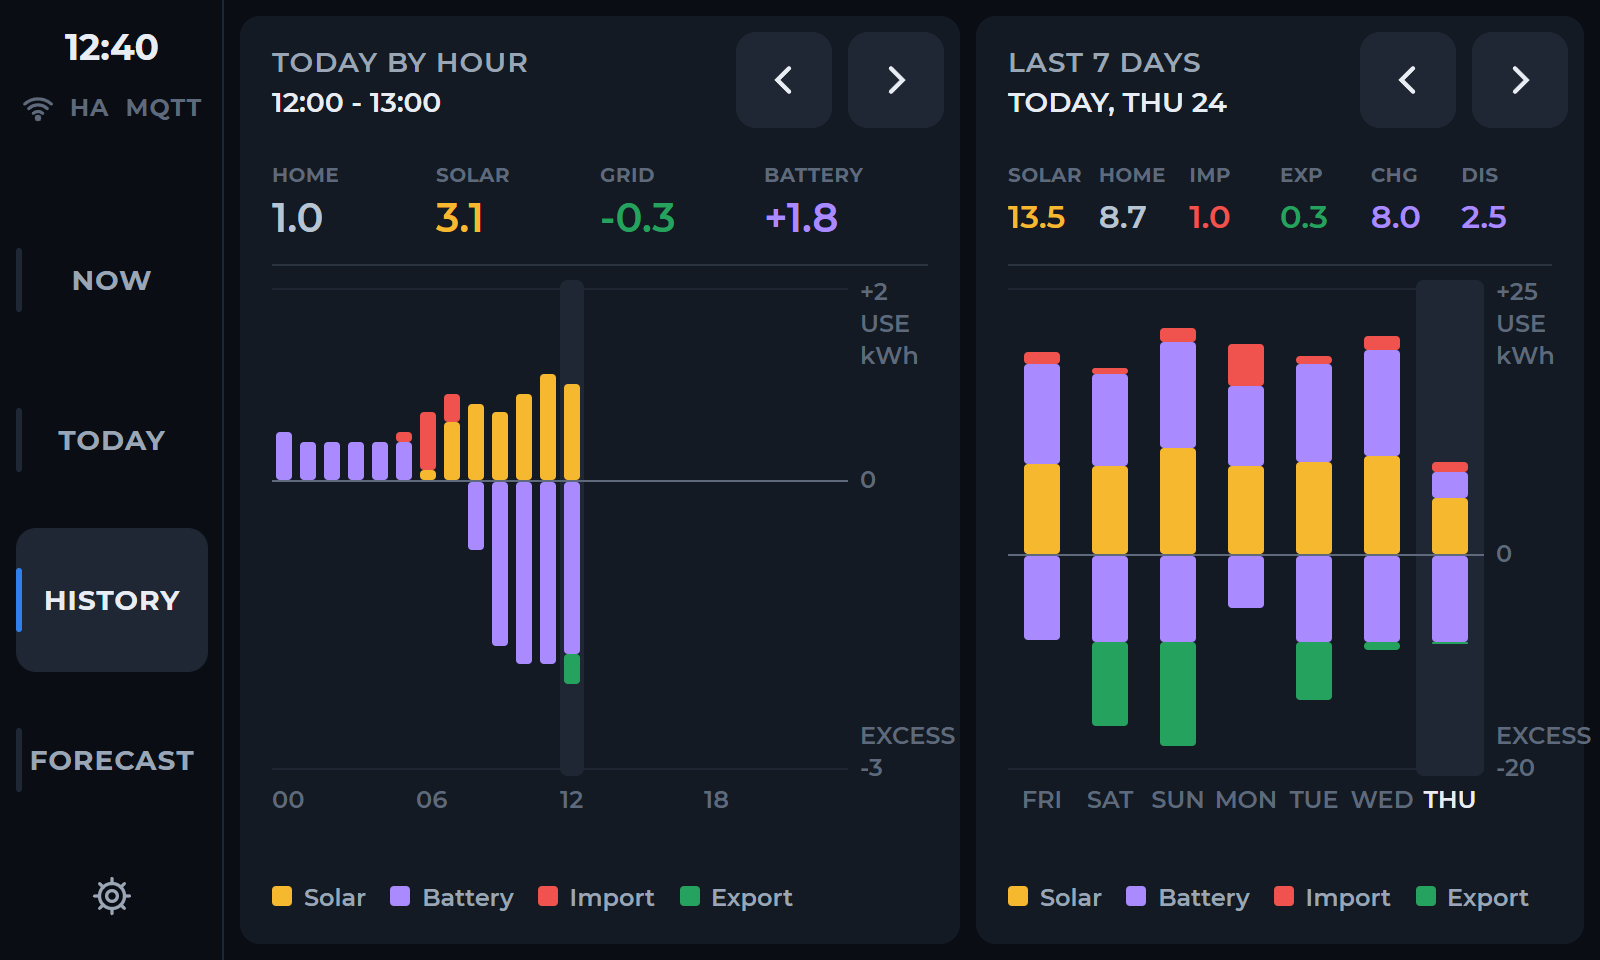
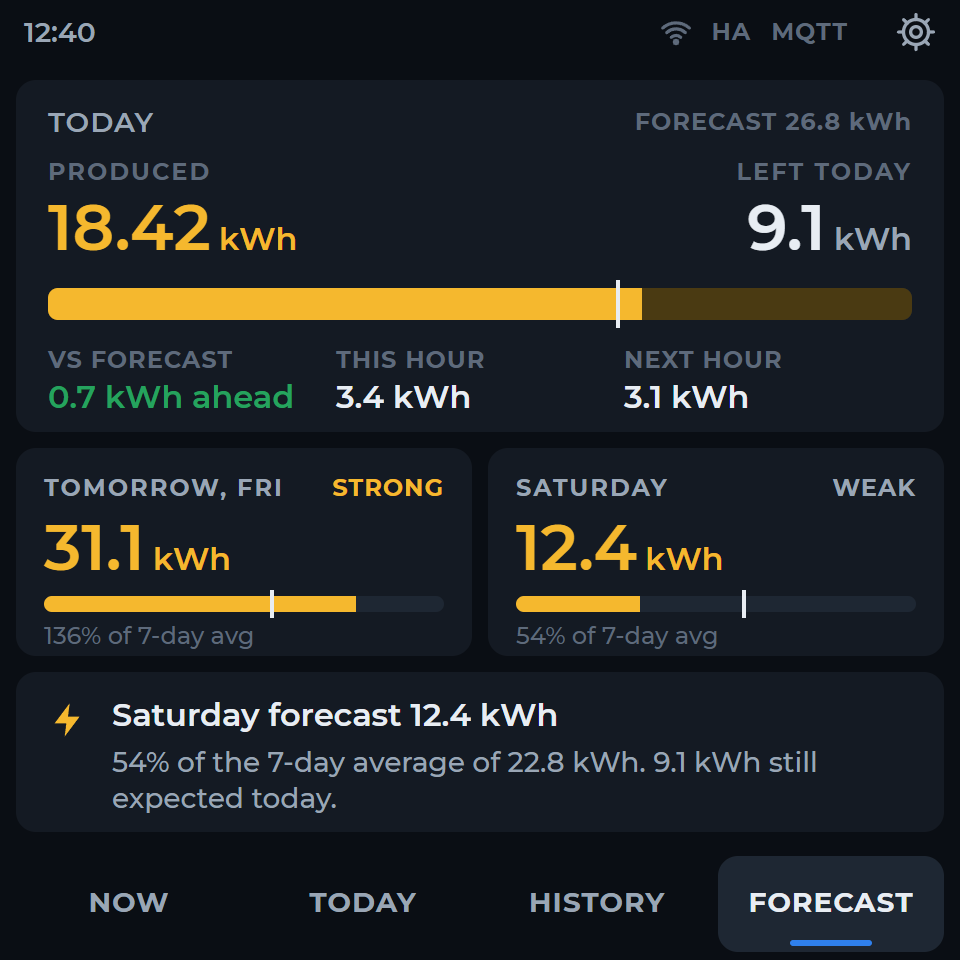
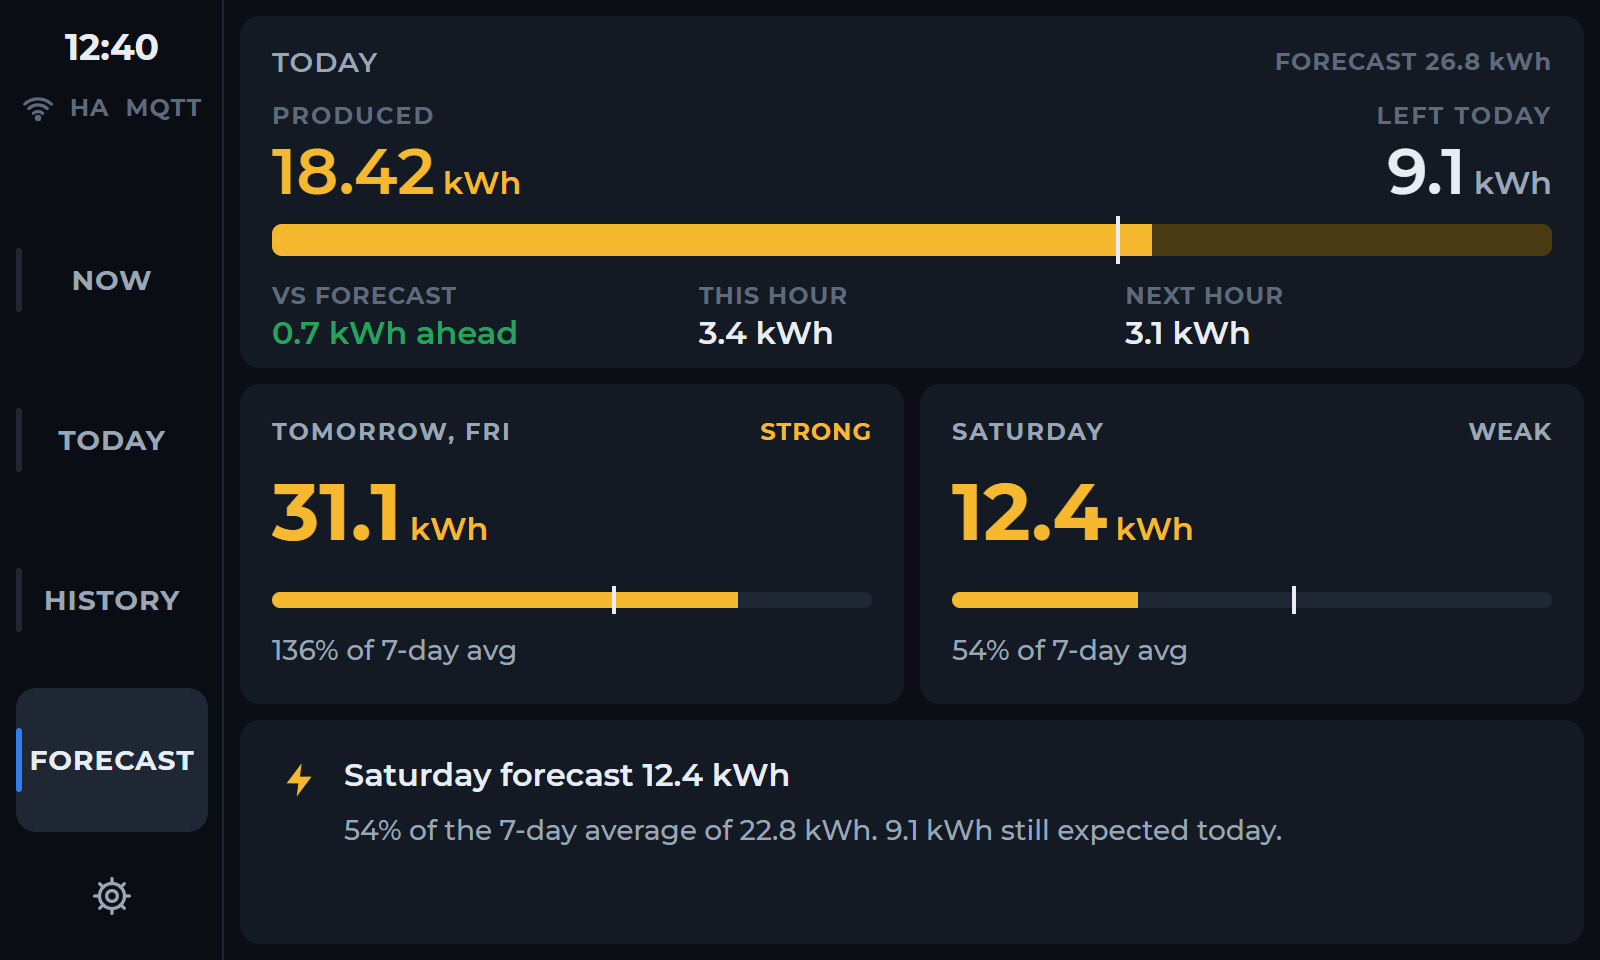
Check Now against the GX. Today and History use records collected by Home Assistant; Forecast depends on compatible forecast sources being available.
Updating and recovery.
Keep the previous firmware and a backup of local configuration. Use the complete matching release and its update instructions; use the firmware for your exact panel and connection mode. Investigate errors before reflashing.
Matching releases →Troubleshooting →