
Clevr Energy Display · Victron edition
Set up your standalone Victron display
This guide connects the display directly to your GX for live monitoring. It does not install anything in Home Assistant.
On this page
Check the hardware and release.
Select 4-inch or 5-inch and confirm the board marking. Download only a released package matching both this hardware and standalone mode. If 5-inch standalone is pending, show “A matching release is not available yet” and stop that download path; do not substitute HA or 4-inch firmware.
The board marking and package match the chosen panel and standalone mode.
Install the matching firmware.
Follow that package’s ESPHome/USB instructions. For the current four-inch Dev5 source, keep clevr-energy-panel-4in.yaml and its five headers together. Add only its required local secret to an existing secrets file. Never overwrite another device’s secrets or mix headers from releases. Copying files to an HA-hosted ESPHome installation is one option; HA is not a runtime requirement.
clevr-energy-panel-4in.yamlThe complete matching YAML and headers are together; local secrets remain intact.
Prepare the GX.
Enable Modbus/TCP on the GX. On older menus this is under Settings → Services; newer menus can differ. Note the GX’s local IPv4 address. Keep the service within the local network; no public port forwarding is required. Reference Victron’s official Modbus guide for current menu details.
Modbus/TCP is enabled and the GX local IPv4 address is known.
Connect on the panel.
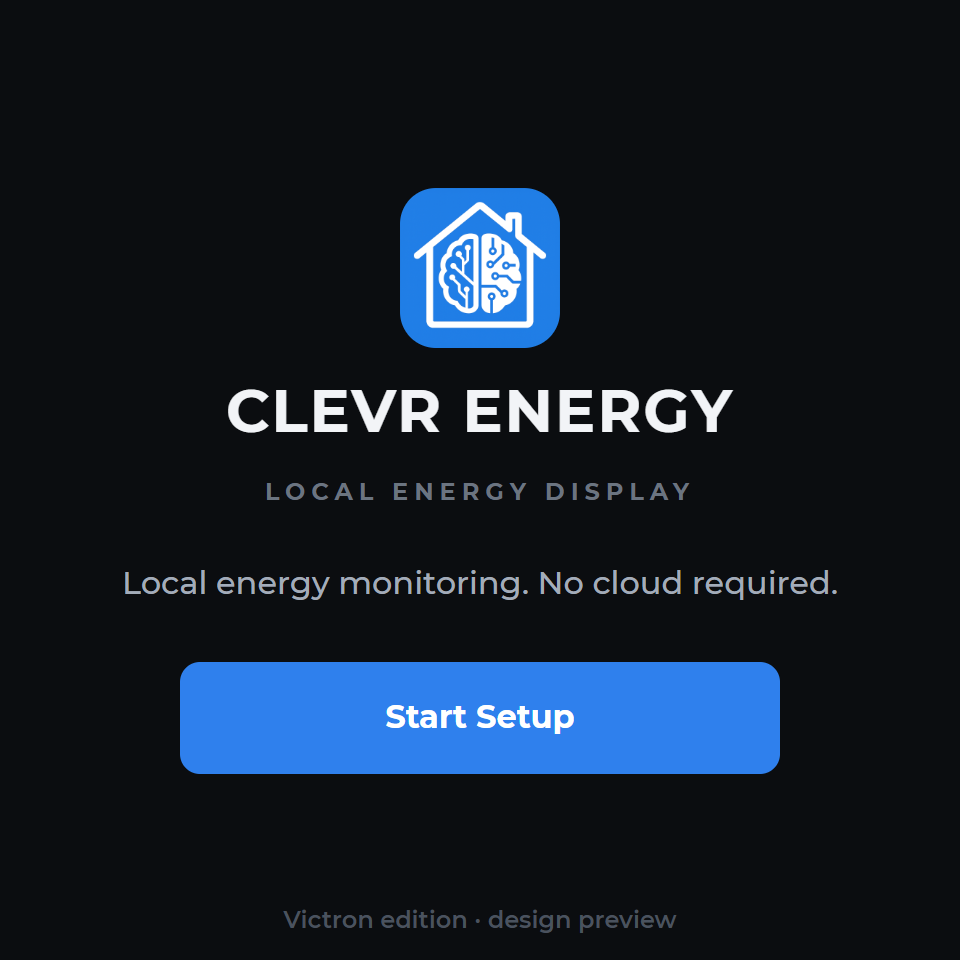
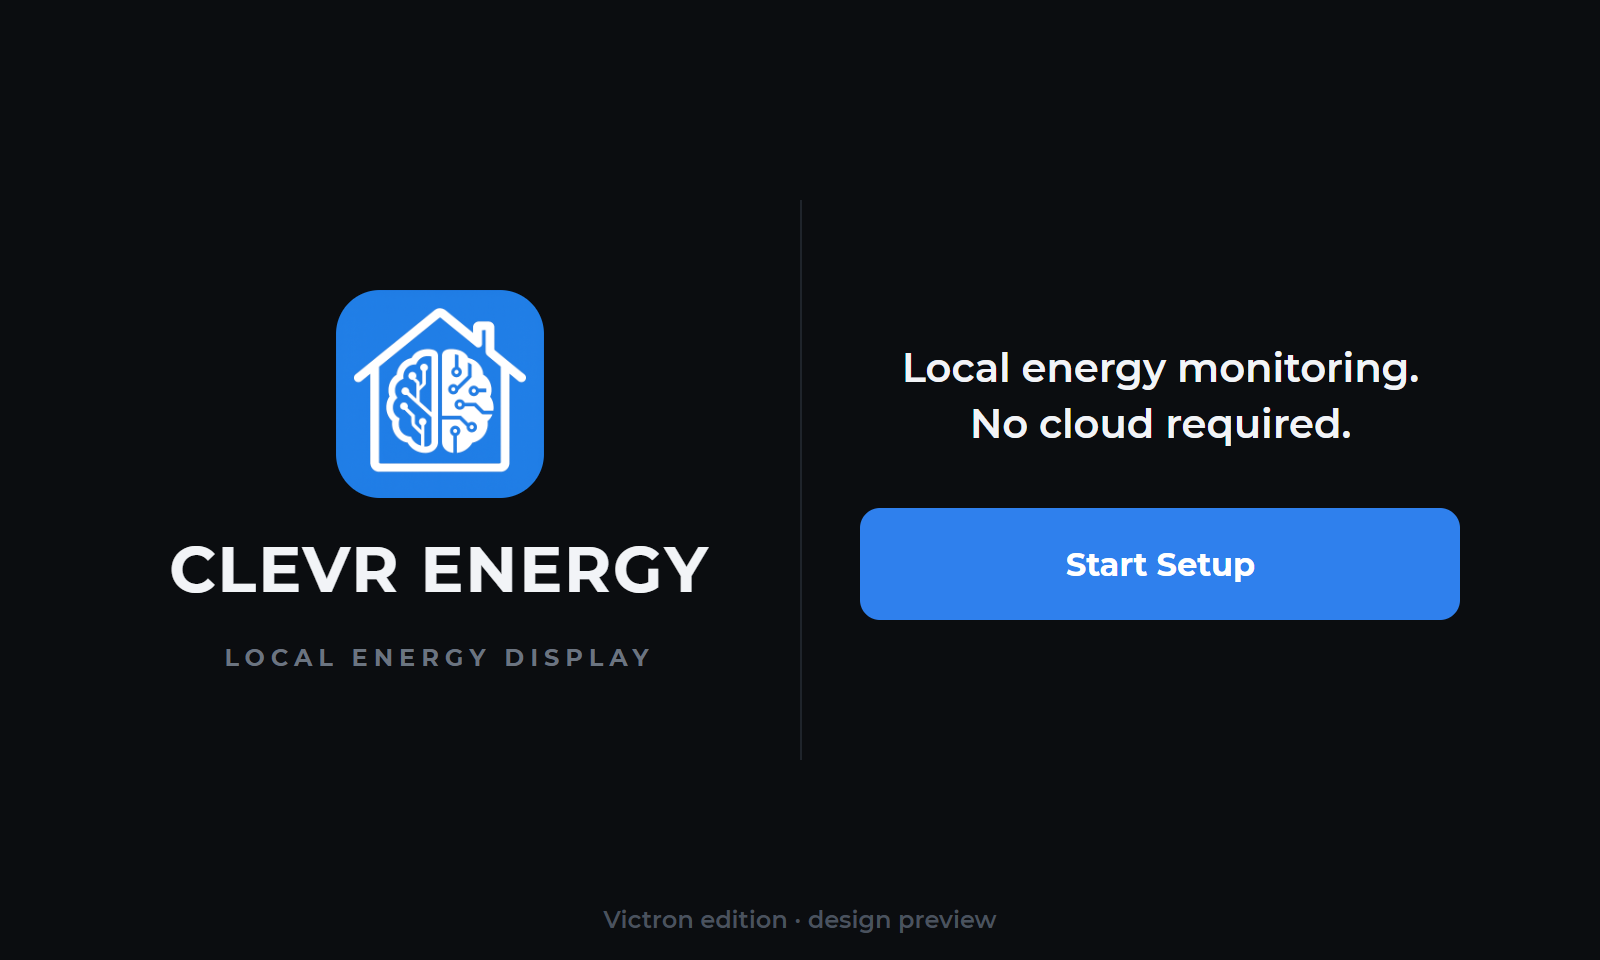
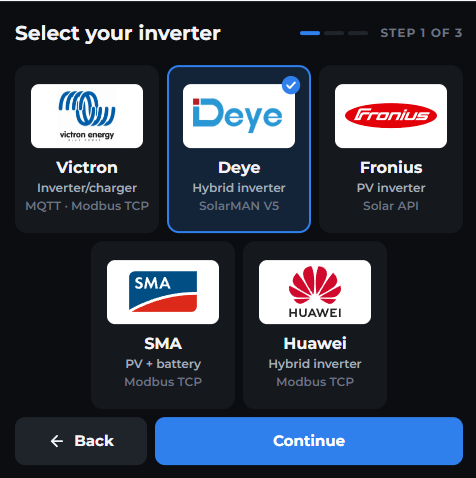
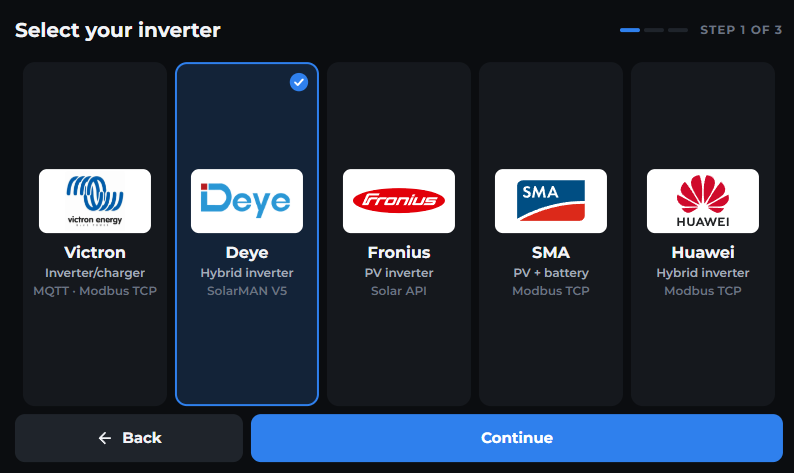
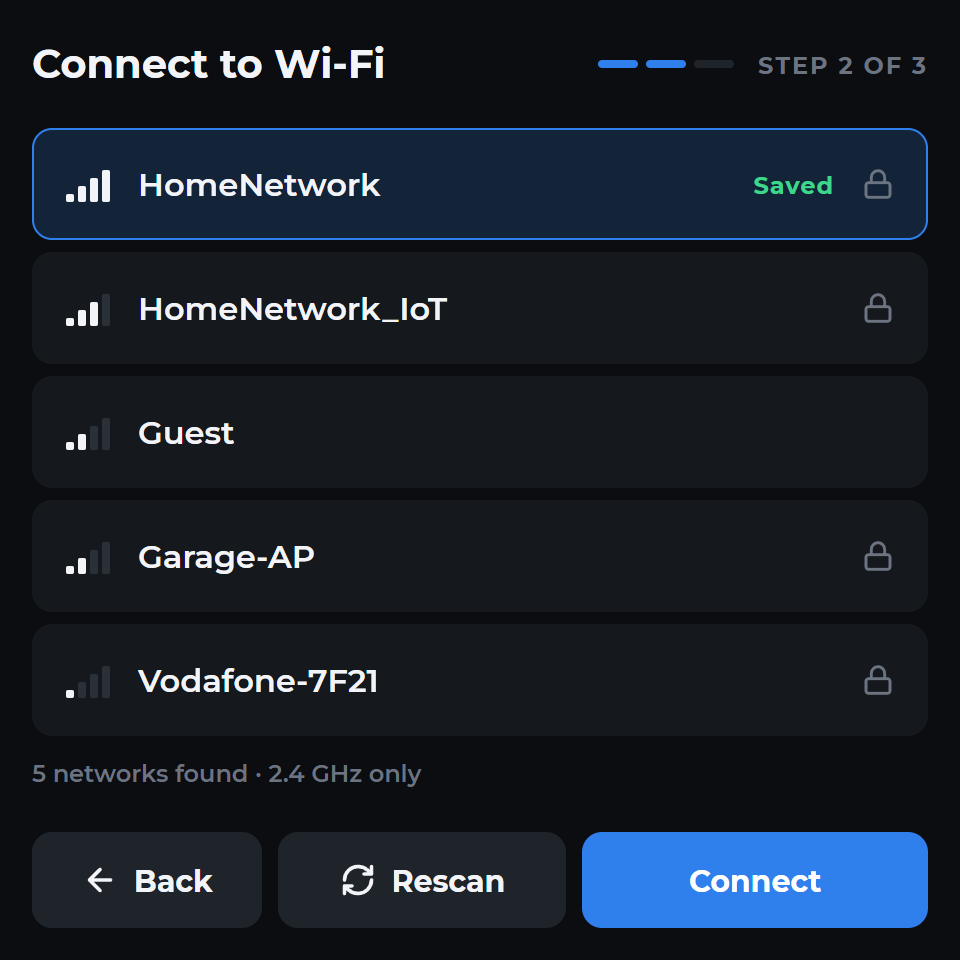
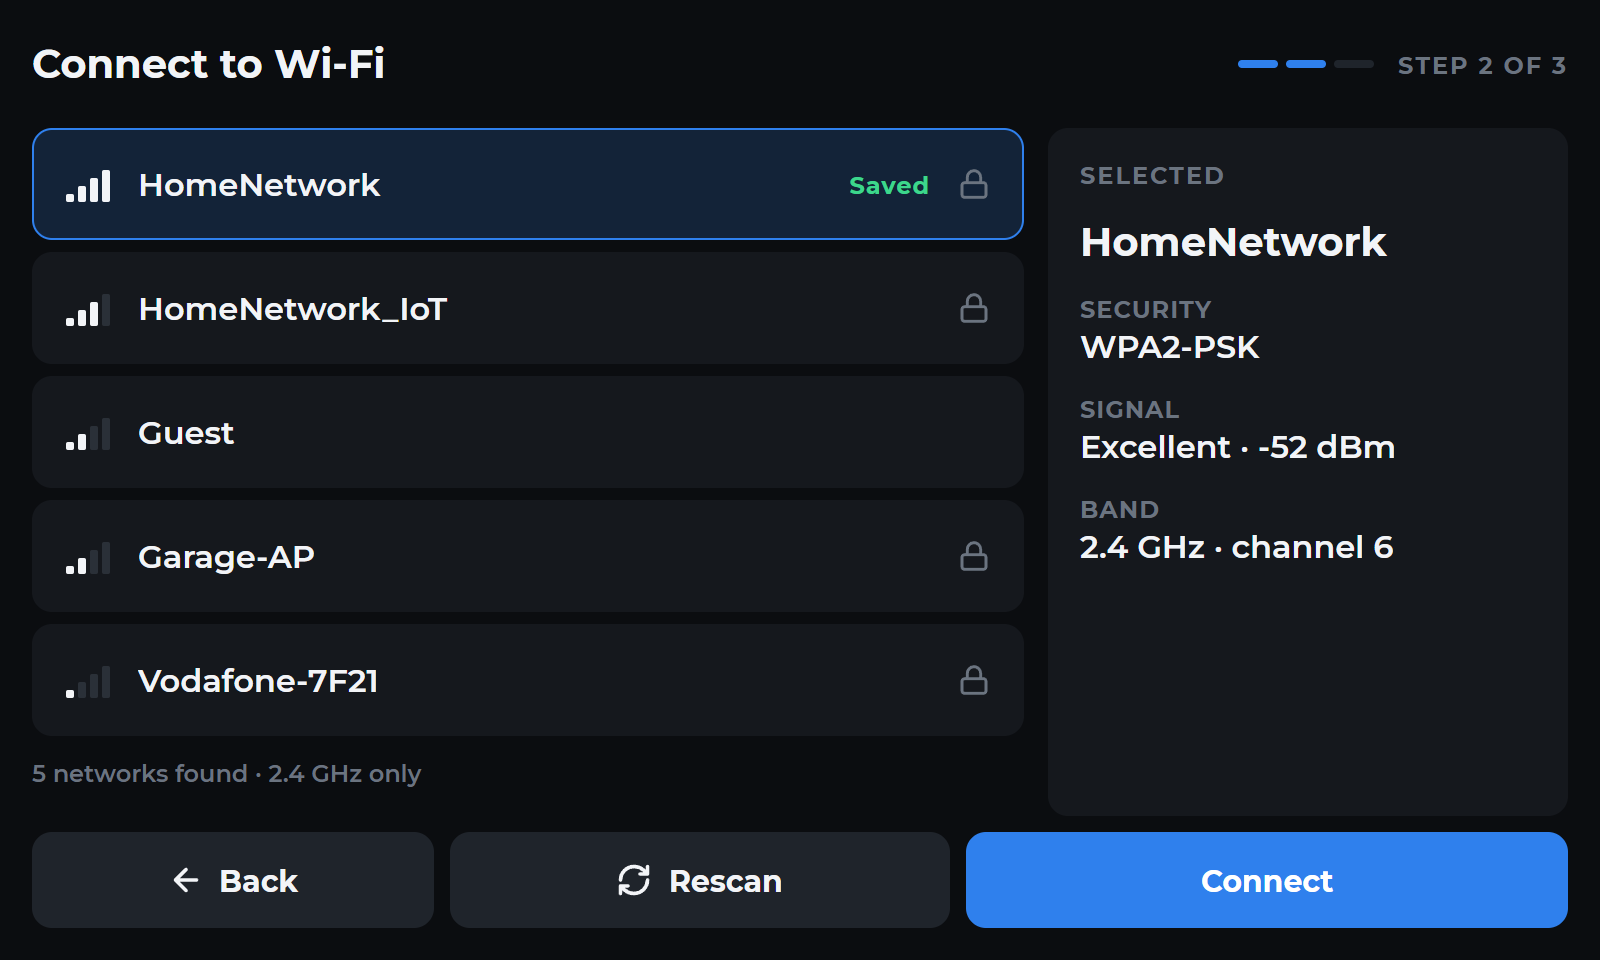
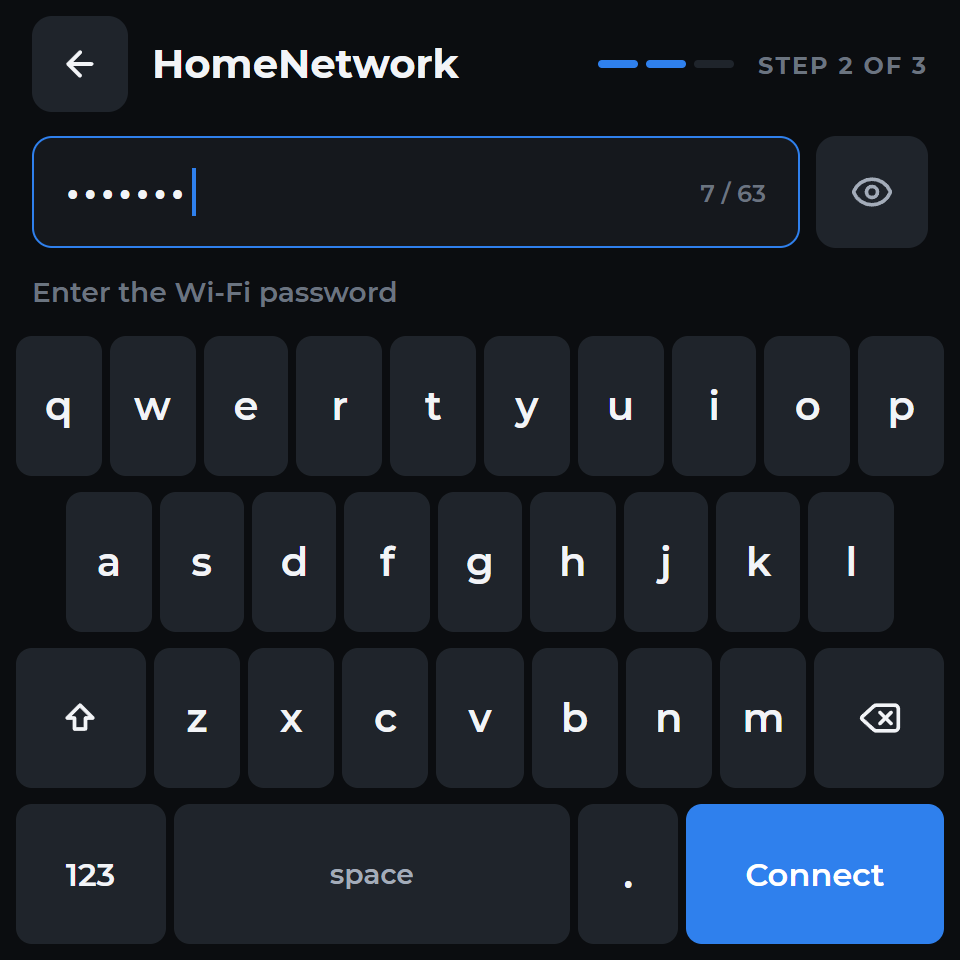
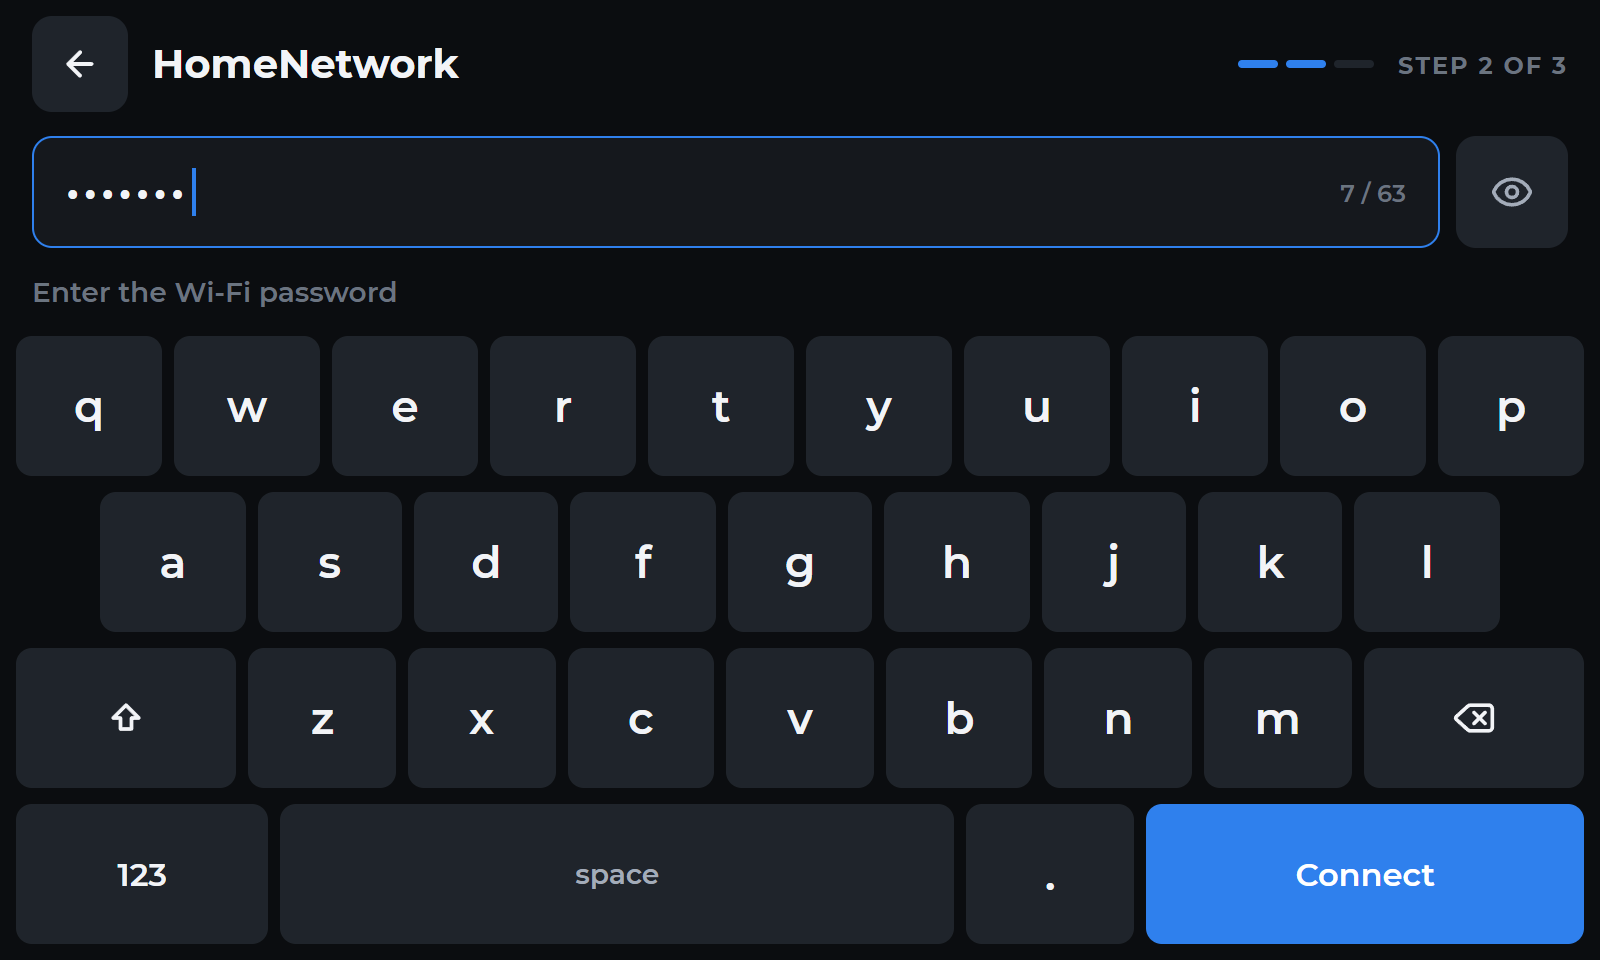
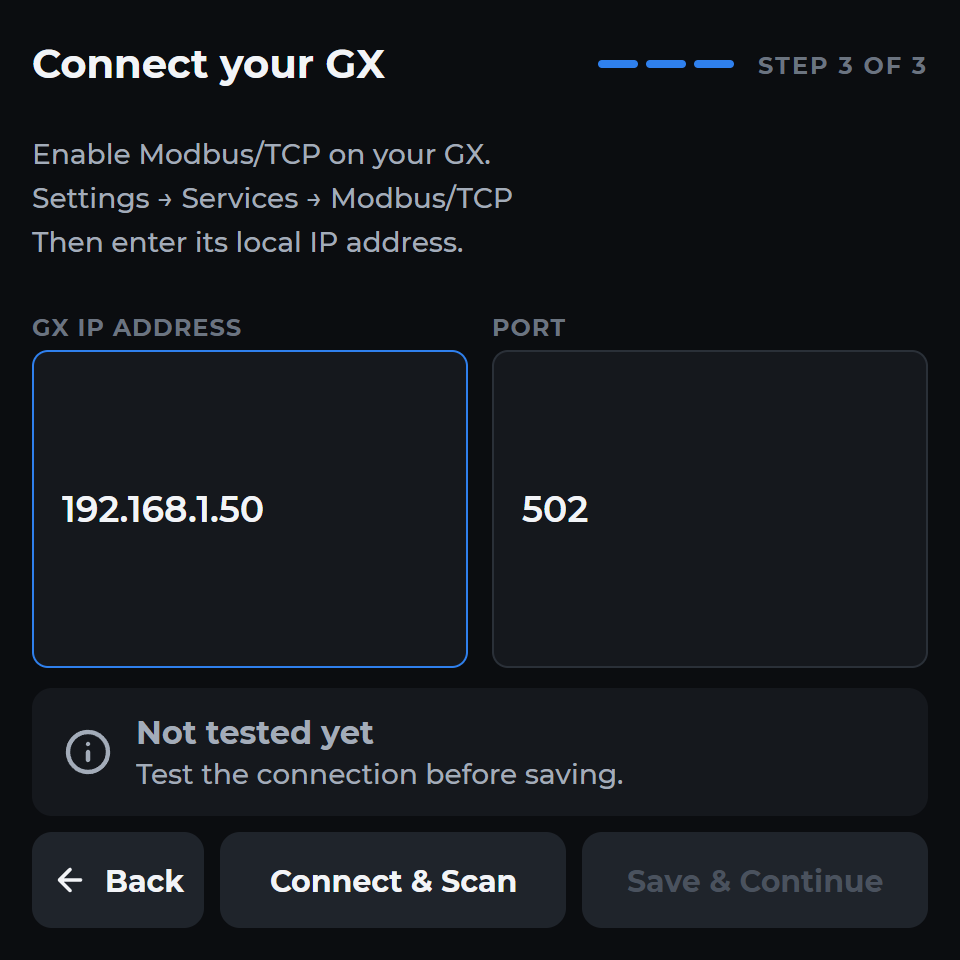
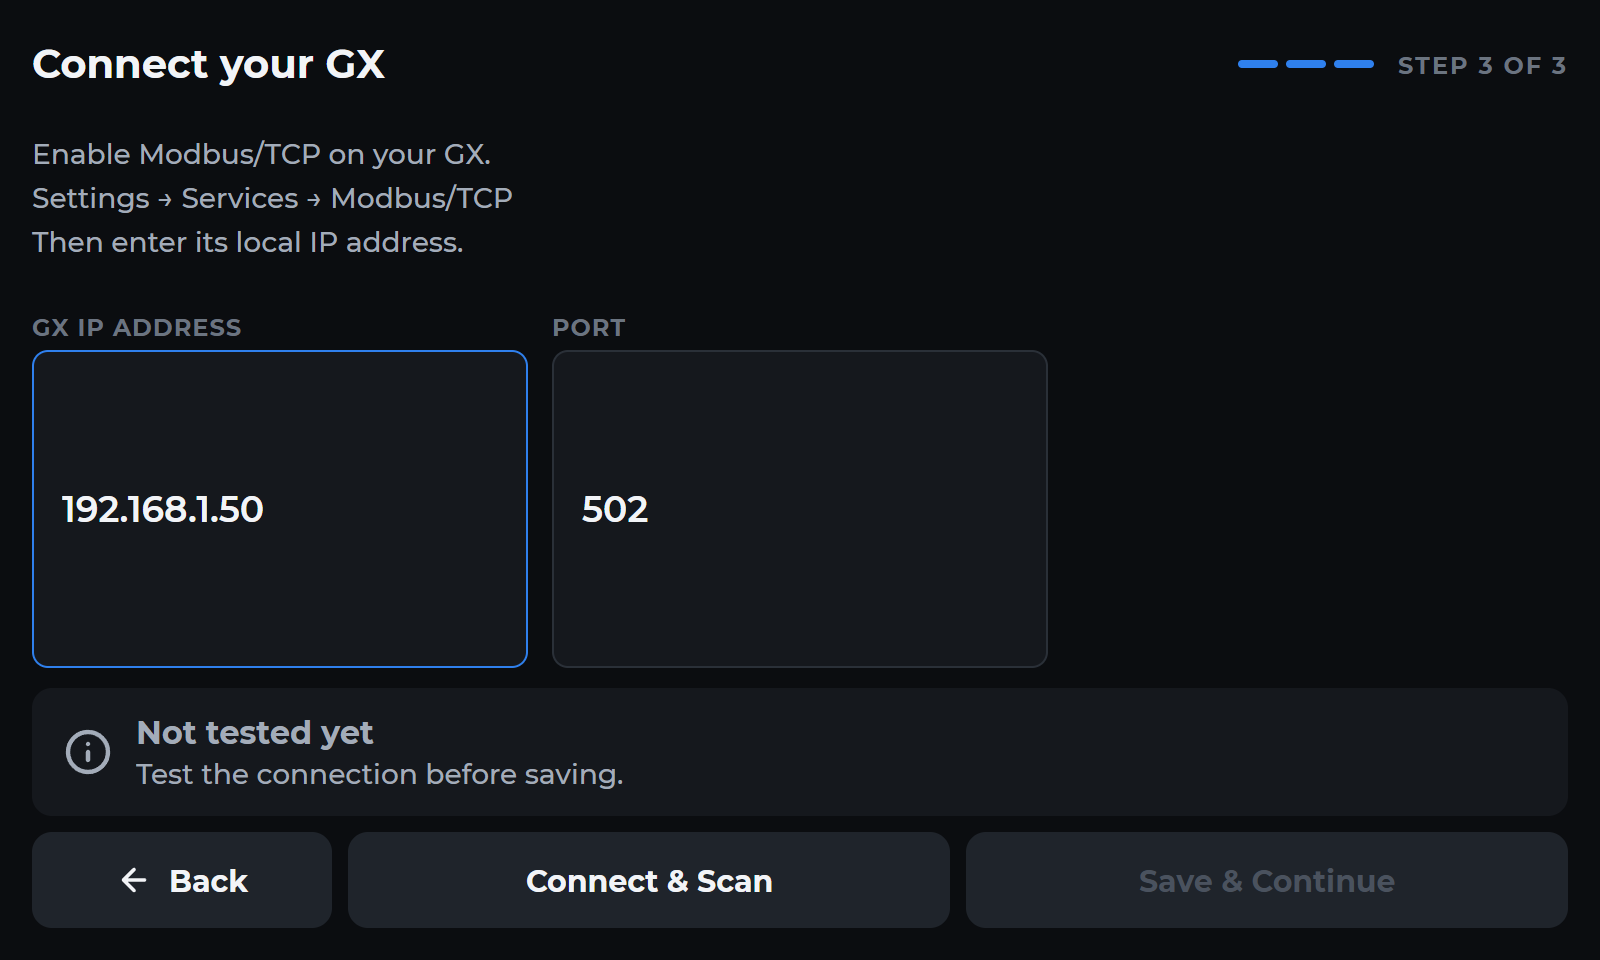
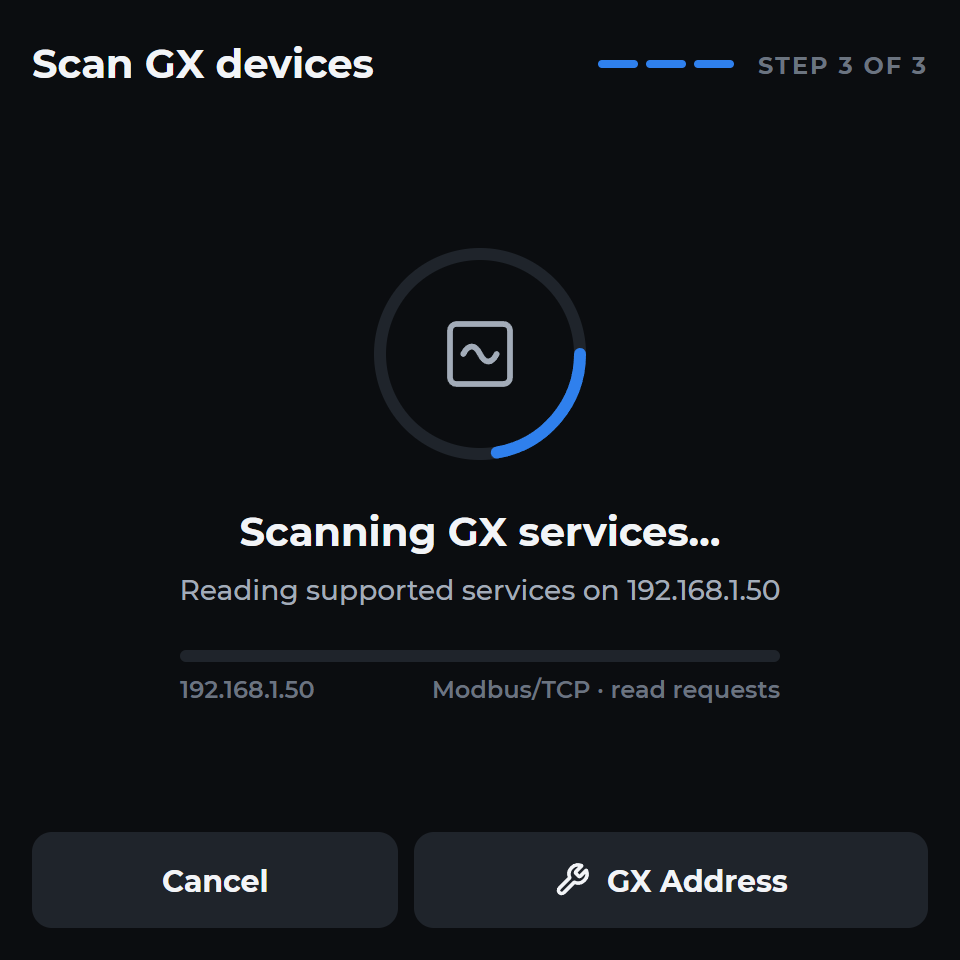
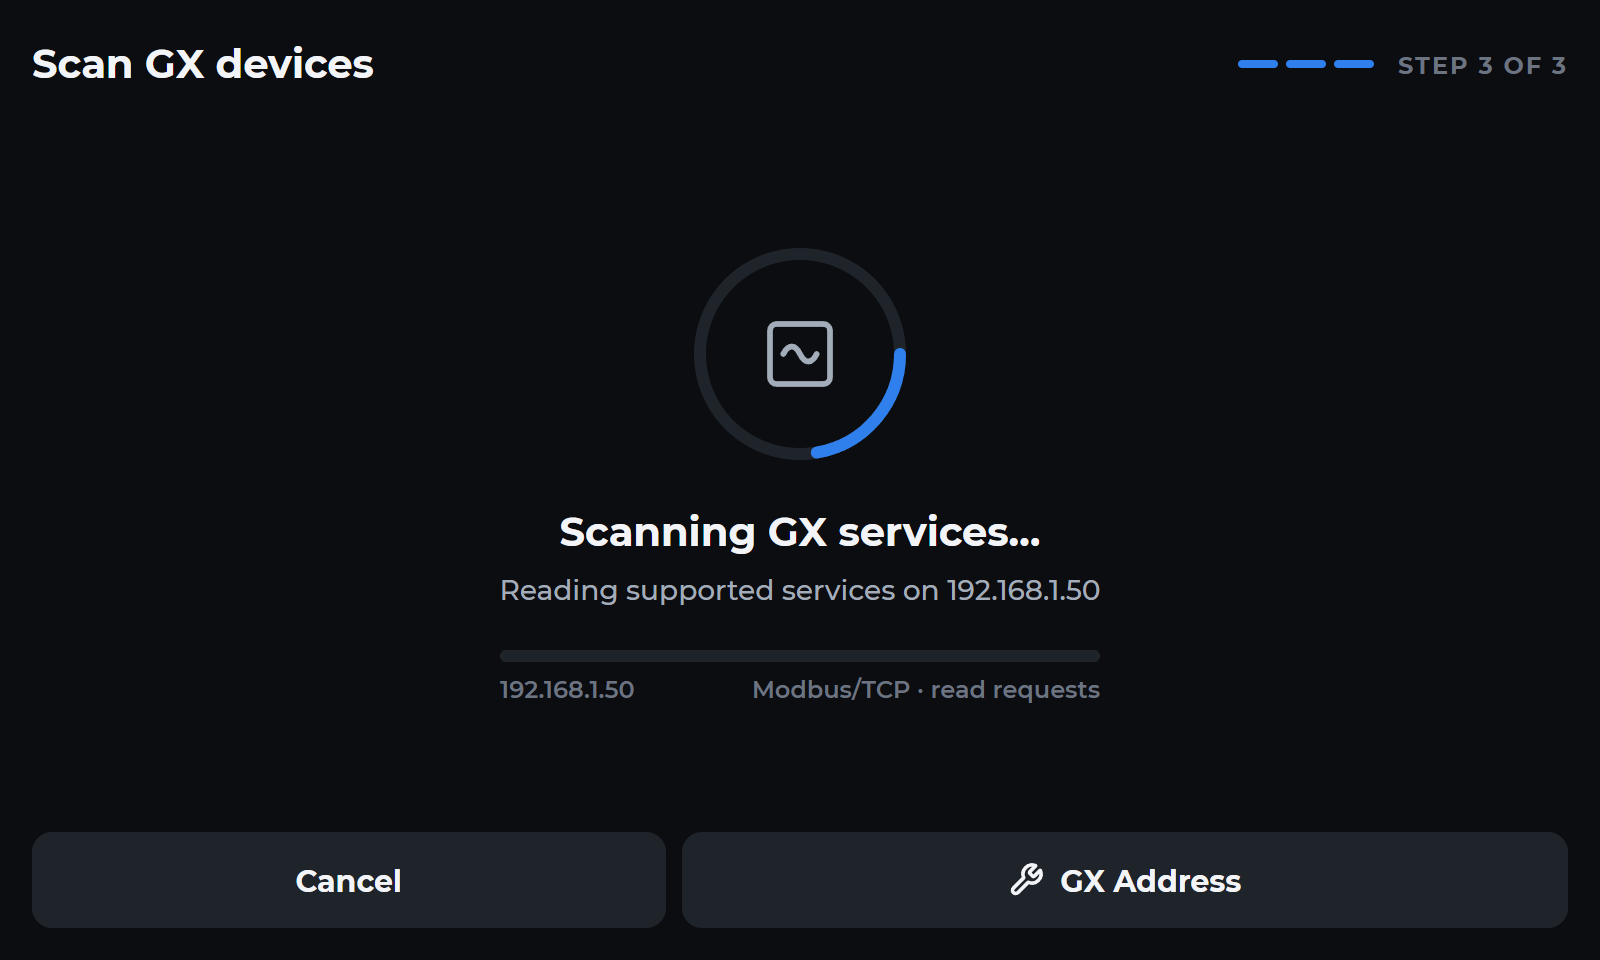
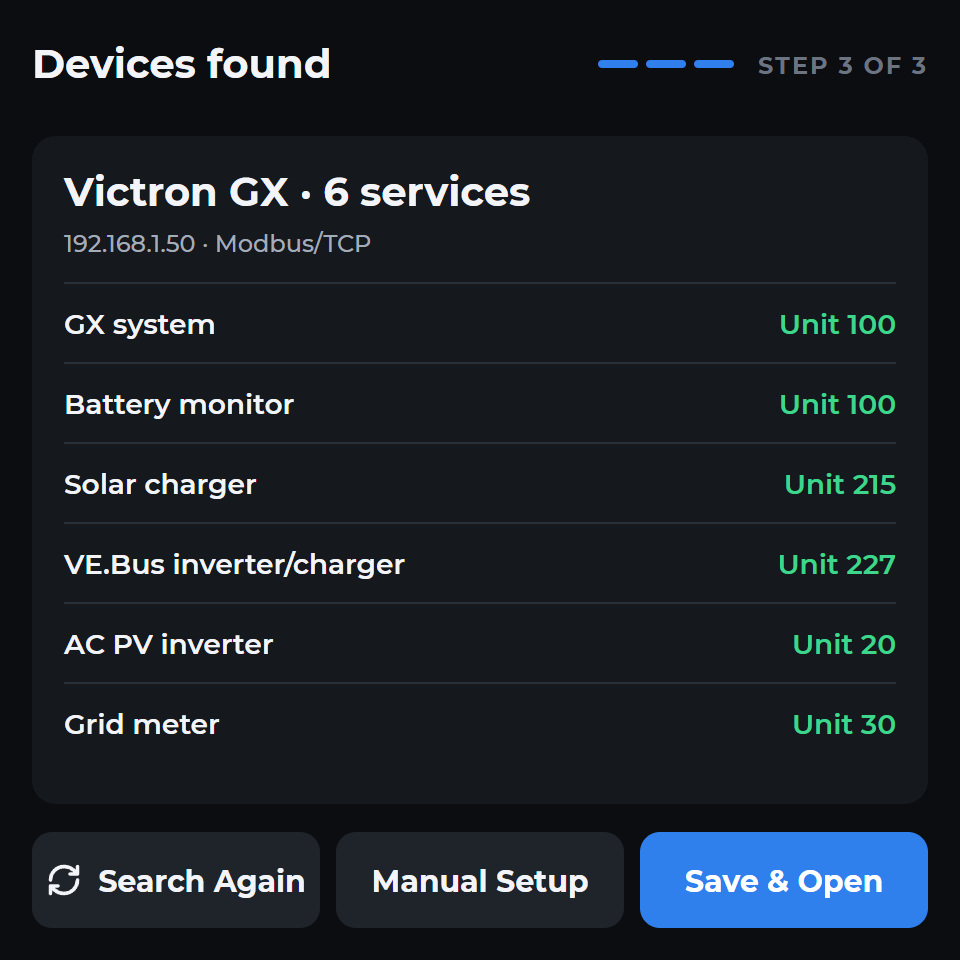
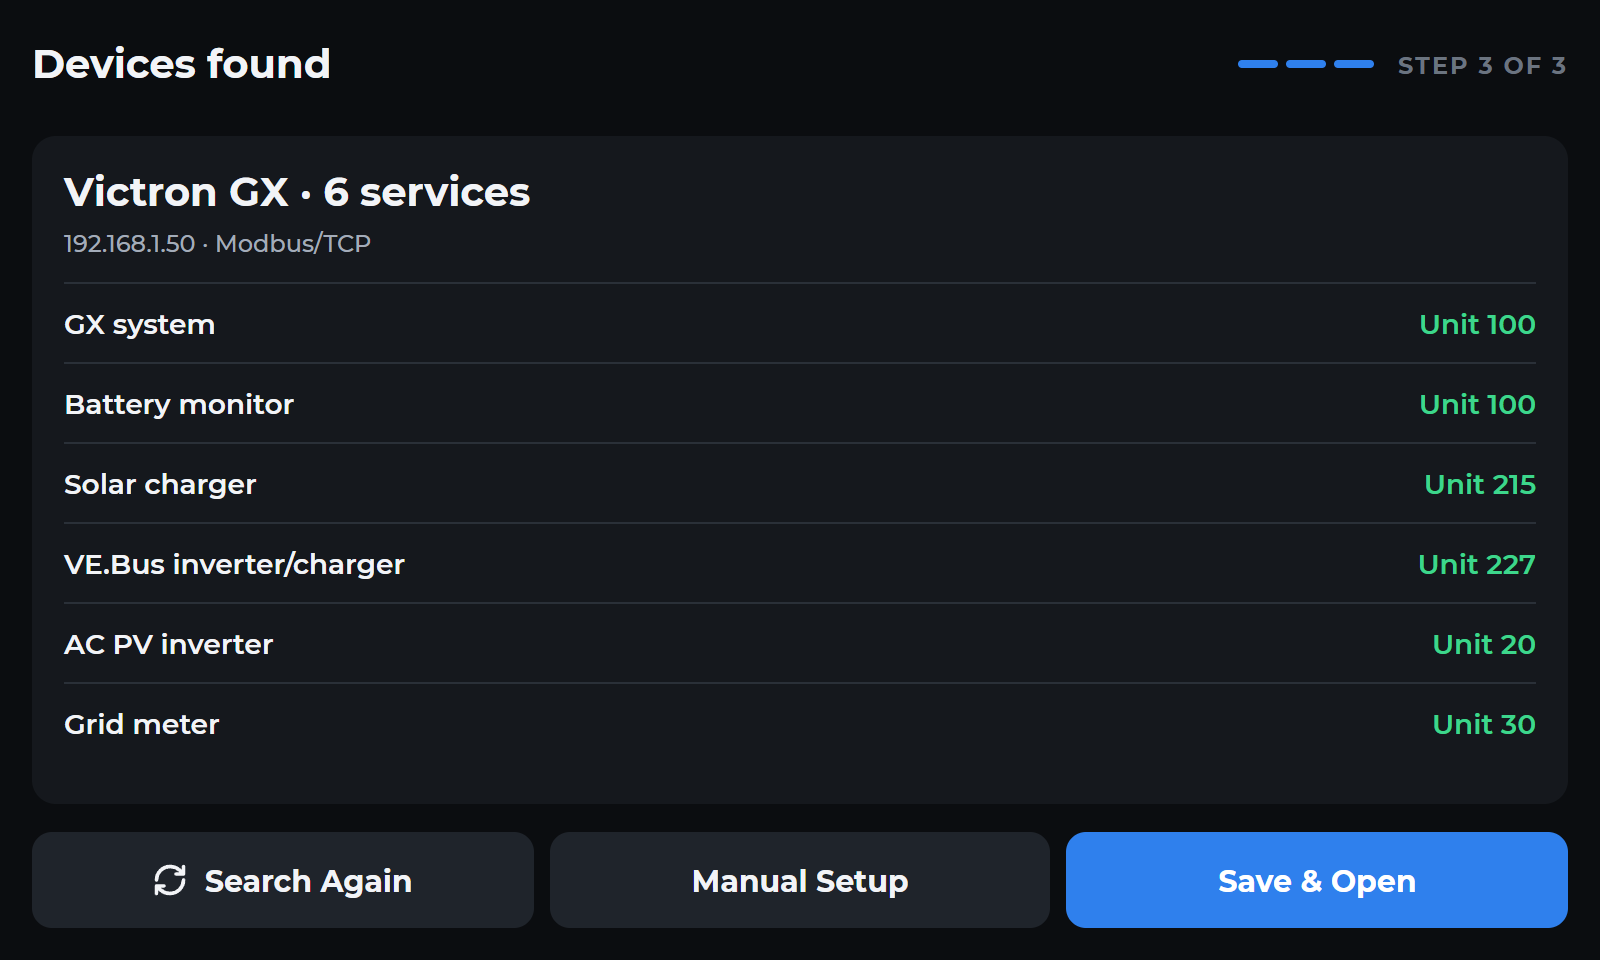
Tap Start Setup, choose Victron and Continue, select Wi-Fi, enter the password and connect. Enter the GX address and choose Connect & Scan. The scan takes time; allow it to complete and inspect the result.
The panel is connected to Wi-Fi and the GX service scan completes.
Review and save.
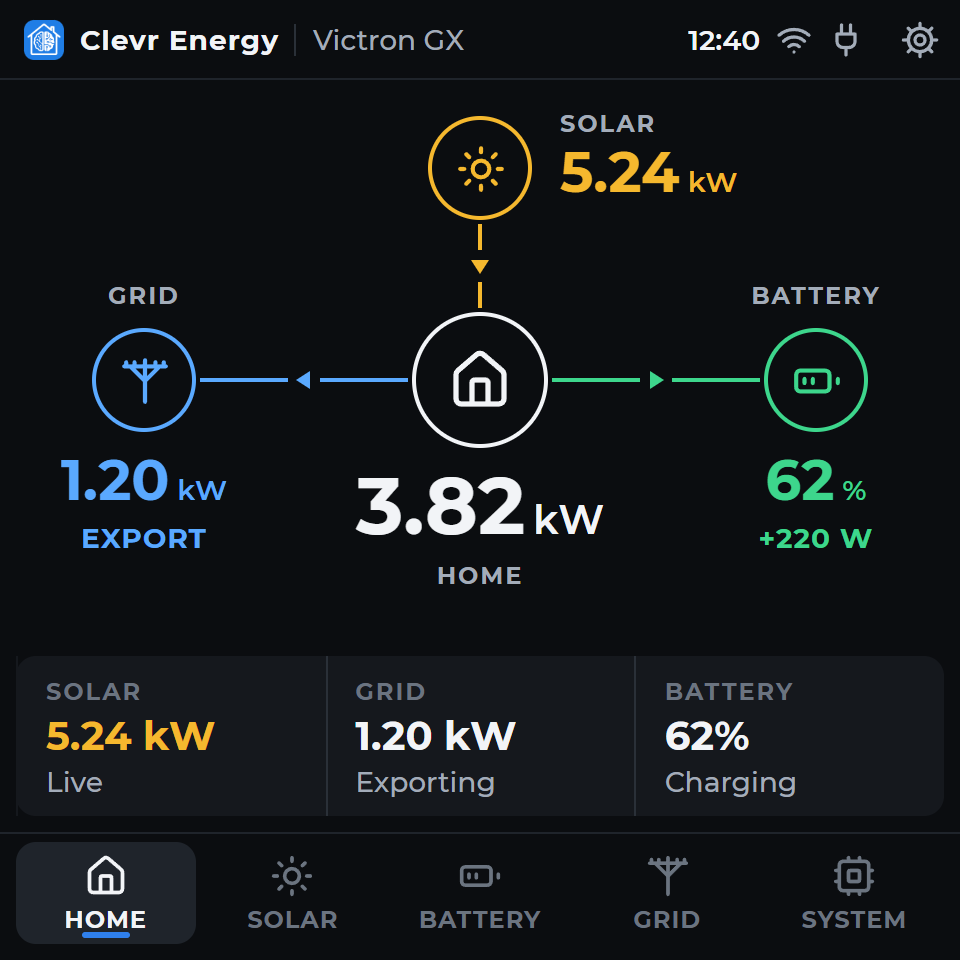
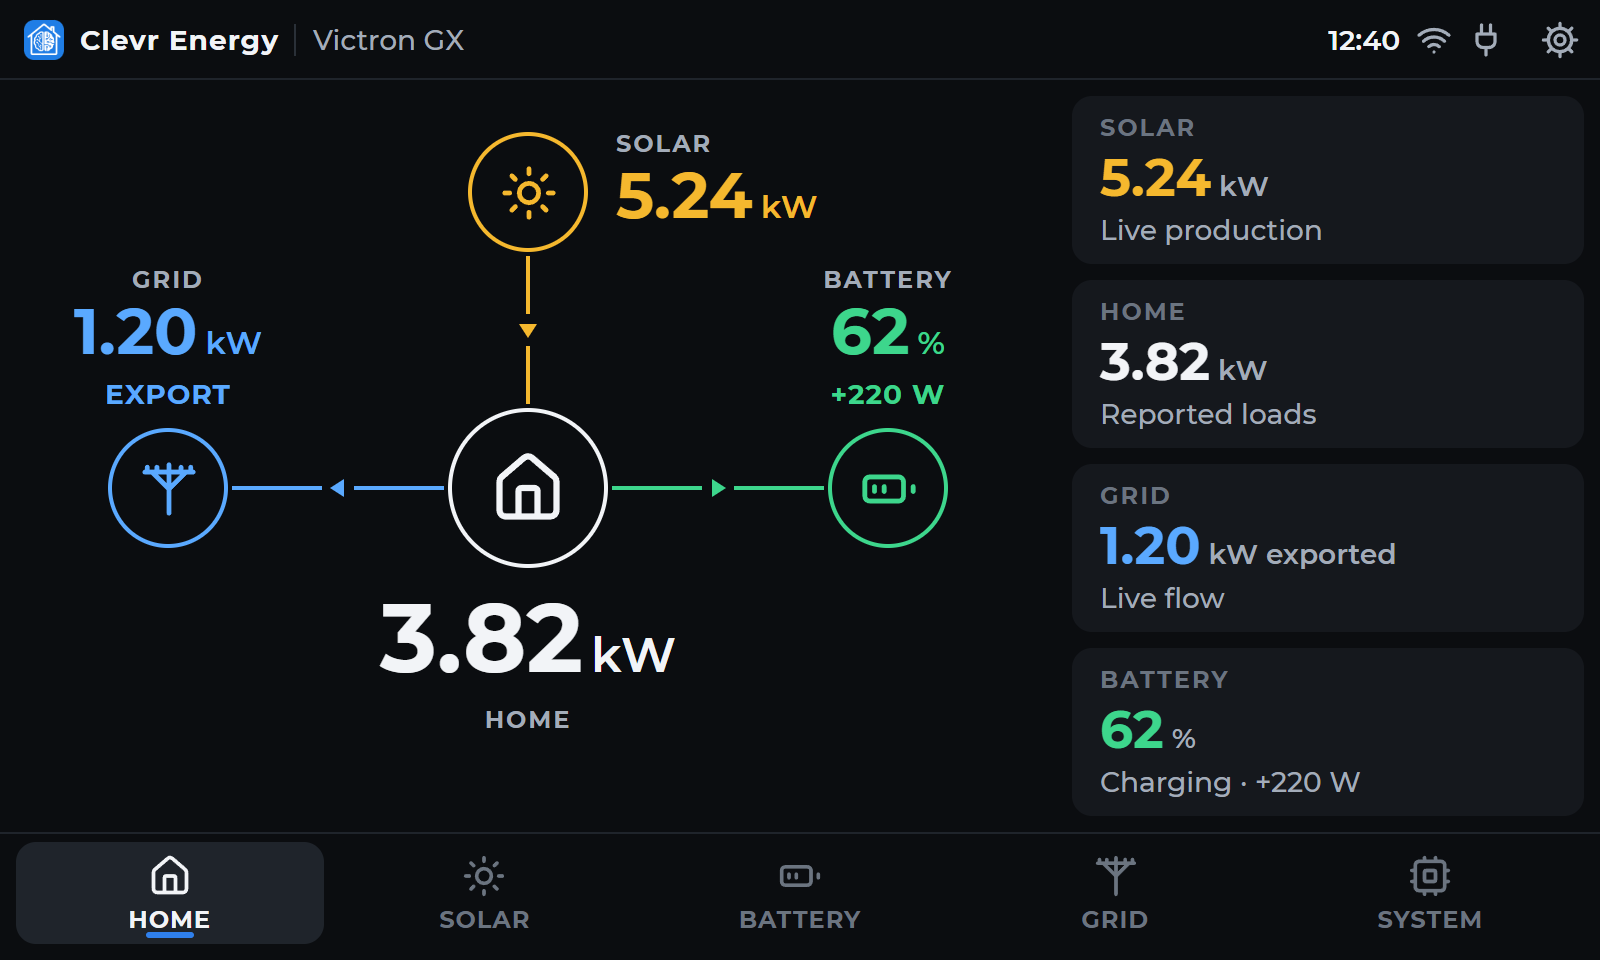
Check the supported service list and Unit IDs, then Save & Open. Compare solar, grid direction, load readings and battery status against the GX. Settings provides the installation/device-list path and a rescan. Cancel Setup restores the saved connection after testing another address.
Current readings agree with your GX, including grid direction and battery state.
Check recovery.
Restart the panel with the GX available. A saved setup retries temporary boot discovery failures if the GX starts later. If an unsupported/capacity/configuration error appears, inspect the result rather than expecting retries to repair it.
The saved setup reconnects; configuration errors are investigated rather than retried indefinitely.
Updating and recovery.
Keep the previous firmware and a backup of local configuration. Use the complete matching release and its update instructions; use the firmware for your exact panel and connection mode. Investigate errors before reflashing.
Matching releases →Troubleshooting →